How do I setup Live TV on XBMC?
Below are some basic and straightforward instructions to get Live TV set-up on your Media centre, computer, Raspberry PI or other device in just a few minutes.

The below instructions assume you have a device setup with XMBC or later and have a Linux compatible TV tuner card or usb stick connected.
If you want HD freeview channels I would recommend the USB plugin “PCTV NanoStick PCTV Systems DVB-T2 290e nanoStick HD TV Tuner” this is made by Pinnacle / Hauppauge (note – XMBC will recognise it as a Sony CSD282, but this is ok) – Use the link to below to buy one or to get more information.
Just follow the below guide to get it up and running;
- First you must install the Backend server – this is what controls the TV tuner card, grabs the channel etc ….
- This add on needs to be installed from with in the XBMC Add-on Manager
- Go to – Settings > Add-ons > Get add-ons > XMBC Mediacenter OS Add-ons > Services
- Select tvheadend
- Click Install
- Reboot your machine.
- Second you need to install the front end
- Go to – Settings > Live TV
- Select Enabled.
- A small message box will appear telling you need to install at least one PVR Client
- Select OK.
- Scroll down the list and select “tvheadend”
- Click Enable.
- Go back to the home screen
- Reboot the machine.
- Last you need to setup your tuner card on the backend server – this is done via a web interface.
- From within a web browser type in the following changing the “ipaddress” for the address of the device running XBMC http://ipaddress:9981 e.g. http://192.168.1.2:9981
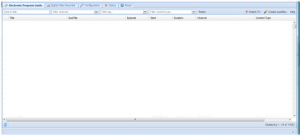
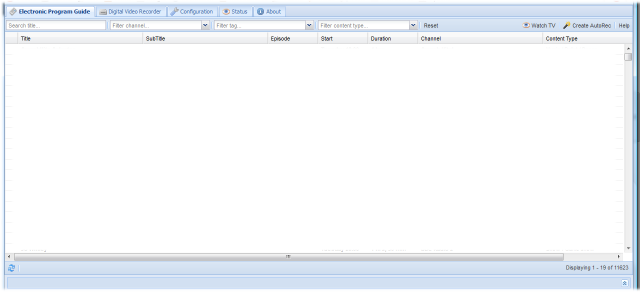
- You are should now see the following interface.
- Go to > Configuration > DVB Inputs > TV Adaptors.
- Select the drop down menu and choose your TV tuner.
- Enable “Autodetect muxes” and “Idle scanning”
- Click Save.
- On the left you will see a button marked “Add DVB Network by location”. – Click it
- Select your country
- Select the Transmitter that is nearest for you.
- If your in the UK you can use the website http://www.ukfree.tv to find your transmitter.
- Click ”Add DVB Network”.
- Wait for “Muxes awaiting initial scan” to become 0
- Click the “Map DVB services to channels” button.
- Click on the “channel / DVB” button, you should see a list of all the channels your box has found.
- If there are no channels showing give it a few minutes to finish scanning.
- If there are still no channels showing check that you have selected the correct transmitter.
- If some of the channels are missing you might need to add a Multiplex manually – for example the UK crystal palace transmitter is currently missing the HD multiplex, you have to add this manually.
- Go to > Configuration, DVB Inputs > Multiplexes
- Click “Add mux(es) manually”
- Enter the details of the missing mux.
- Enter the Frequency of the e.g. for the crystal palace HD multiplex enter 546000.
- Leave all the other options as Auto.
- Click add.
Reboot the machine.
That is it, your device should now be up and running if you go to to your home screen you should see a Live TV button – go into this section to watch live tv or setup recordings.
For more Tutorials and Hints & Tips on XMBC or the Raspberry PI check out our Raspberry PI Blog Section
If you would like to Buy a Raspberry PI, its accessories or software check out our –
If you would like help with XMBC then please contact us or visit our IT Support Page.