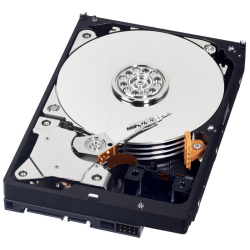
How Do I Clone A SATA Hard Disk?
Below are some easy and straight forward instructions to clone your SATA Hard Disk.
The below instructions assume you are using a windows based machine and use a great little utility called
HDD-Raw-Copy-Tool this can be used to create an exact low-level, sector-by-sector device duplication you can clone SATA, IDE,
SAS, SCSI, SSD drives, USB sticks, SD, MMC and CompactFlash cards to an img file or to another device..
Clone your SATA Hard Disk
- Download the utility from http://hddguru.com/software/HDD-Raw-Copy-Tool/.
- We would recommend you get the standalone version as this means you don’t need to install the program and will run straight from the download.
- Pop your SATA Hard Disk into your PC or laptop.
- Start up the program.
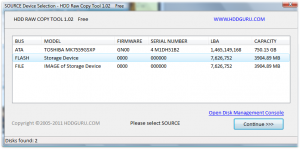
- Highlight your SATA Hard Disk and click continue (the card you want to copy).
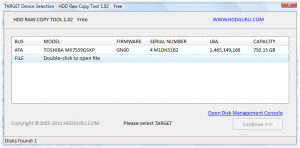
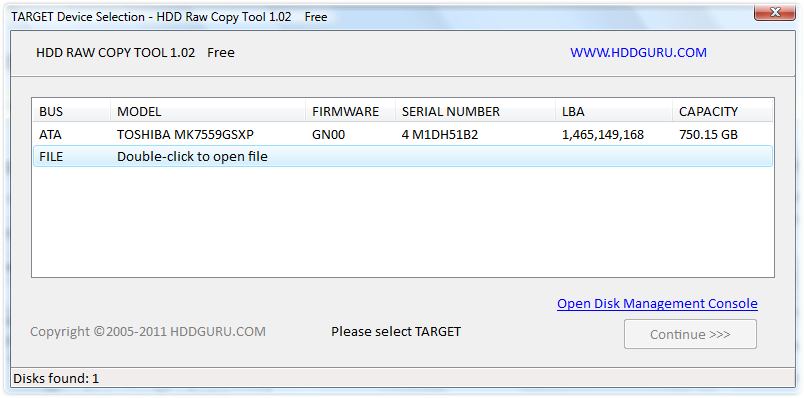
- Highlight the device you want to copy to, or select if you want to write to an image file.
- If you want to write to an image file to copy to a SATA Hard Disk at a later date – Double click on the FILE option and choose the location and name for your image file.
- Click Continue.
- You will now get a display showing your previous choices, check them and then double check them – If you write to the wrong drive e.g. Yo
 ur main hard disk your computer will be very poorly!!
 - Click start.
- The program will now clone your SATA Hard Disk.

That is it, you now have a clone or an img file of your SATA Hard Disk. If you created an image file this can now be used to make multiple clones.
To go the opposite way e.g. Burn an image to SATA Hard Disk, choose an image file in t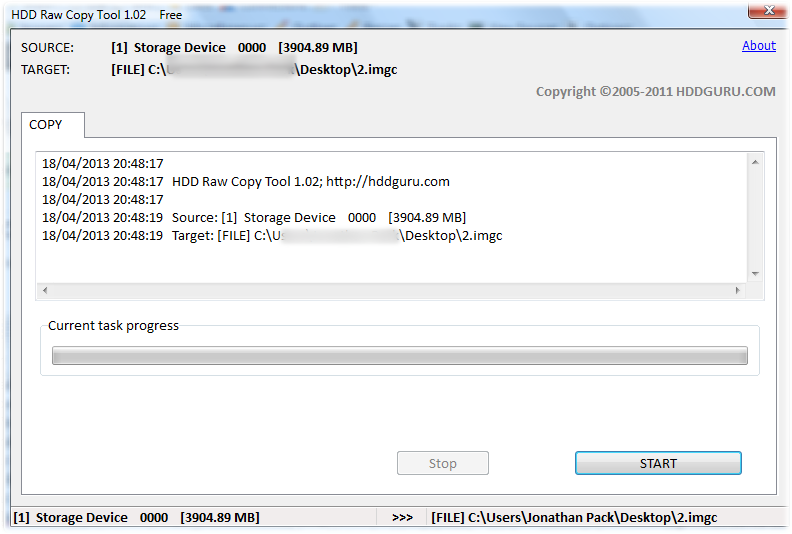 he first window and then an SATA Hard Disk in the second.
If you would like to check out some of our useful Utilities please visit our Internet Utilities page.
If you would like help with your computer or laptop then please contact us or visit our IT Support Page.